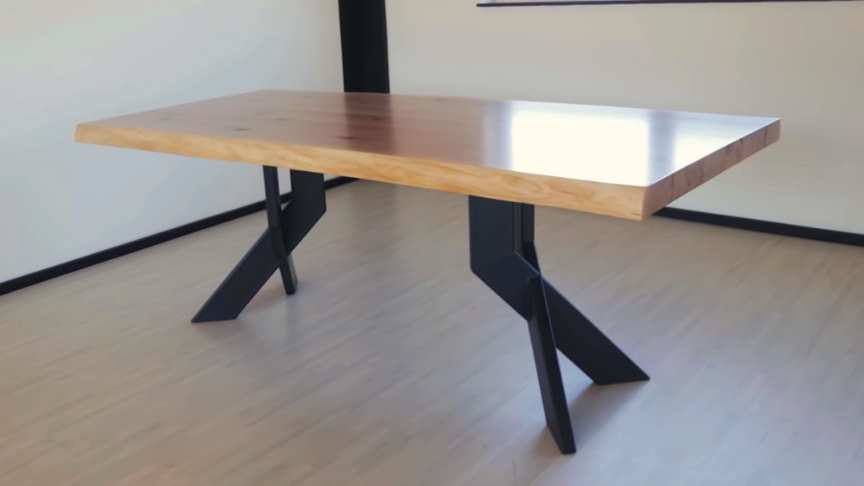
For this project I used 8cm thick oak planks. I started by marking the cuts on each plank not paying much attention to cracks and knots as I planned to fill them up with epoxy later on. After cutting on a band saw, each oak plank was planed to a flat surface on 3 sides and to a right angle in between each side.Planks are then planed down to thickness of 66mm and fingerjointed.
source/image: lignum
For glueup, I used d3 acetate glue with open time of approx. 20 minutes at room temperature so we had to work fast. The glue was left to set over night. After removing clamps, board was left to rest for a few days before trimming and planing on a kuka kr150 cnc robotic arm. on the under side of the table top, I milled a groove where table base will be positioned later on. For filling up the cracks and knots, I used clear epoxy resin with black pigment mixed in.lignum
After the resin was set, excess was sanded off and a layer of clear resin was applied to whole surface to fill the pores. Excess was once again sanded off and 3 coats of clear matte water based varnish was applied. First two coats with a brush and the final one with a spray gun. In between the second and a third coat, the surface was fine sanded by hand with 400 grit sandpaper.
Advertisement
Legs for this table are made from 40x120x4 mm square tubing. All the pieces are cut to measure and then welded together into a zigzag shape as seen in the video. Small plastic adjustable legs are added to protect the floor surface from scratching. all welds were sanded down using an angle grinder and holes are drilled for the screws that will attach the base to the table board. Base is then painted in two coats of color. First is the base coat and the second one is two component polyurethane finish. After drying, table base and table top are joined together.via/read more: lignum

