
A video of making a bent lamination chair. I saw a lot of similar design in metal and decided to try and make one in wood. I started by making a mould for back rest and and seat. I made it from some leftover osb, and plywood as shown in the video. Bottom part of the mould is rigid and keeps it’s shape while the top part of the mould is more malleable. I used 5 layers of 1.5mm thin mahogany veneer for the seat and back rest.
source/image(PrtSc): lignum
Glue I used for this part of the project is ordinary vinyl acetate d3 glue. Second part was making mould for the chair structure. I shaped the inner mould from 10x10cm leftovers and fixed it to the plywood board which served as a base. Same mould is used for the legs and arm rests.//lignum
I cut 2 and 3 mm strips of spruce and sanded them down to final 1.5 and 2.5 mm thickness. Thinner strips are placed as the outer layers of lamination while thicker strips are placed in the center. Thinner strips can withstand sharper bending and protect thicker core from braking. Glue moisturizes them and also helps with bending.
Advertisement
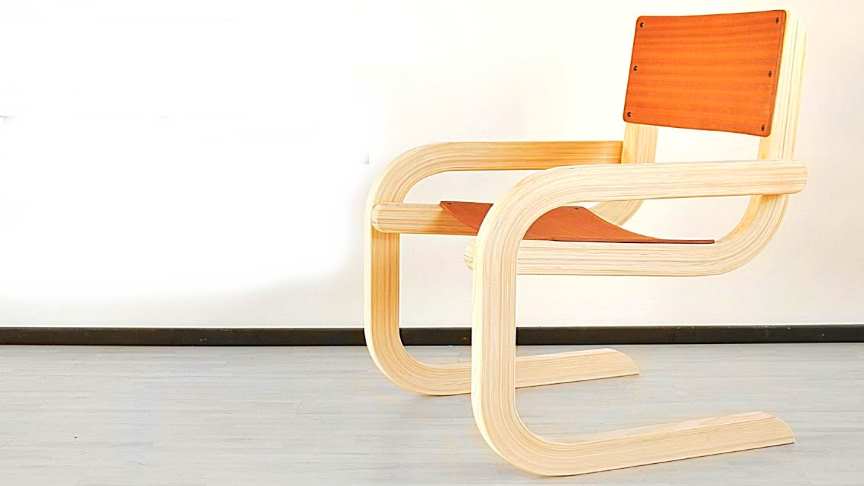
For this purpose I use two component melamine glue with long open time of 45 minutes. It takes some time to Spread the glue on so many layers so longer open work time is critical. After drying, I shaped the pieces to final form with power tools, everything is sanded with varying degrees of sandpaper and finally assembled. To join an armrest to the legs part of the chair I used 16mm beech pegs and acetate glue. To join the back rest and the seat to the chair I used decorative screws.//lignum


